Getting started on your J&J Mac
Connect the power adapter to the MacBook. The MacBook should boot directly to the Apple Setup Assistant.
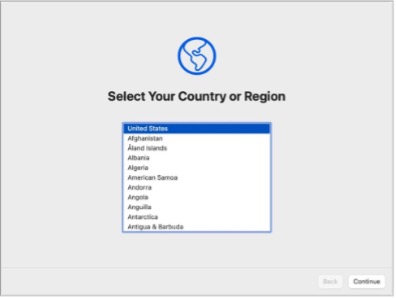
Choose the country and click continue.

Confirm or customize your language, keyboard, and dictation settings to your preferences, and click continue.

Confirm or customize your Accessibility settings. If customizing, follow your device prompts. If no changes are needed, click Not Now.
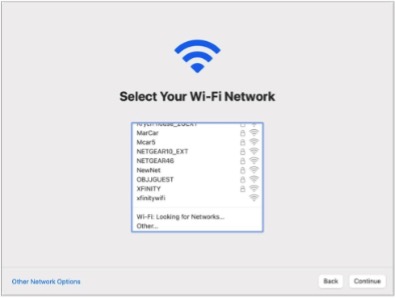
Important: Do not connect to JJGUEST or a hotspot Wi-Fi during
this
process, failure is likely.
In office: Use Ethernet only. You will bypass this prompt
when connected to an ethernet cable.
At home: Select a quality Wi-Fi network, enter
the password and click continue.
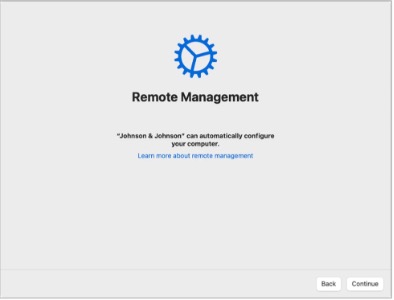
Click continue to allow J&J Remote Management. If you do not see this screen, stop and open an IRIS ticket for support.
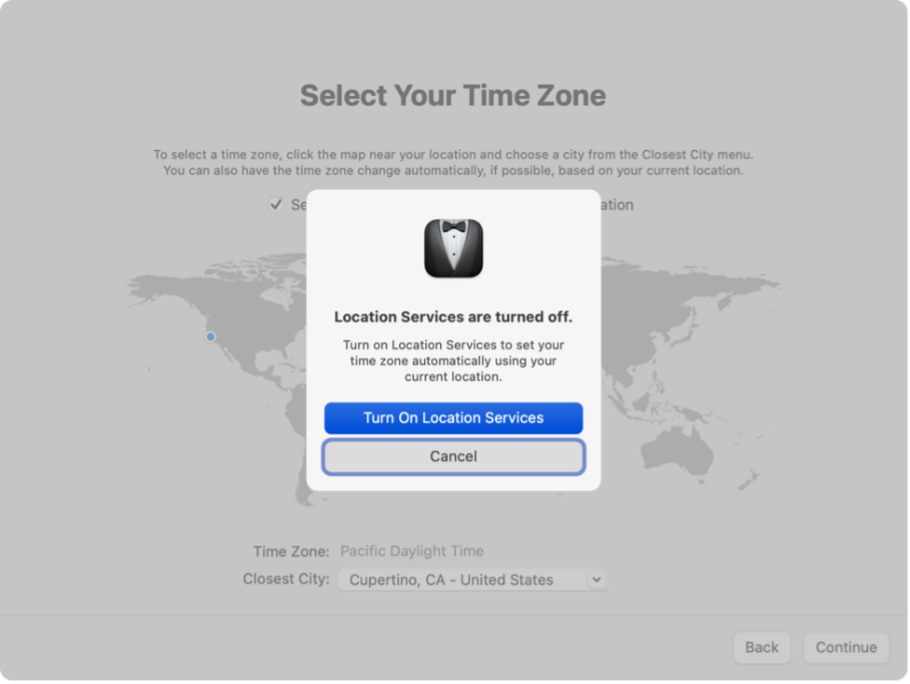
Choose your Time Zone AND click Turn On Location Services.
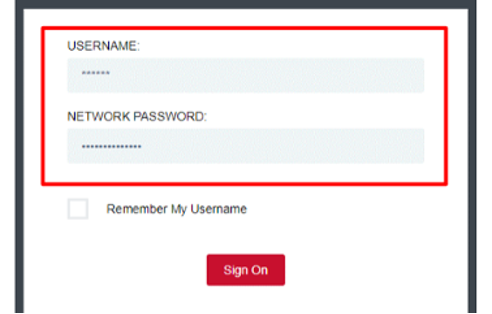
Provide your J&J credentials and click Sign On.
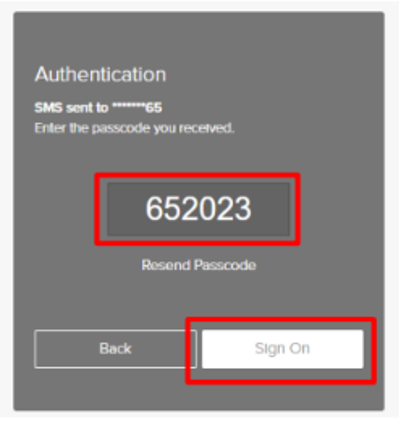
Type in your PingID passcode and click Sign On.
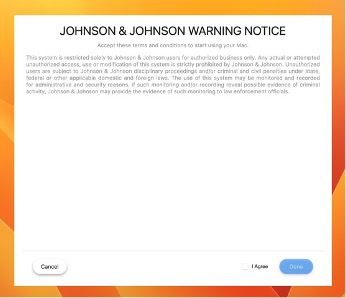
Review the Johnson & Johnson warning notice, check the box to Agree, and click Done.
Within a few moments of opening the mbJnJ-macOS desktop, configuration
should begin and
will run for thirty to forty-five minutes depending on the internet speed of your internet connection.
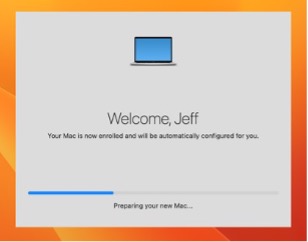
Your device will show a Welcome screen, wait until the profile is configured.
NOTE: Please leave
your Mac plugged in and powered on until configuration is complete.
Now that your device is configured, please visit Bit.ly/JNJGetStarted and sign in with your J&J credentials for guides and learning resources on J&J technology.
To submit a request, report an issue, or read articles, use the technology self-service mbJnJ-center. If you can't access the portal, call the Global Service Desk for help with your migration.
